
It’s been awhile since my last post, and after my Toshiba Chromebook 2 failed on me and had the motherboard replaced (and wiped my crouton in the process), I finally had some time to set everything up again, especially Unicode support on my trusty crouton.
This should be simple enough that I wouldn’t need to write a tutorial for it, but believe it or not it actually took a lot of searching on how to enable Unicode support (and hence Chinese Characters) on the chroot.
By default the crouton set up is very minimal. Not even nano is built in. Plus somehow the LANG and LOCALE environment variables do not get set correctly, resulting in sometimes messed up terminal outputs without Unicode support. Here’s how I finally got Unicode Support working, and read on as well on getting Chinese Input working too.
The simplest way is to just install Language Support (hence Chinese Characters) on Debian systems, as well as setting up Asian language inputs.
Since this is Ubuntu/Debian based, if anyone else has solutions for Arch-based systems do send me a ping and I’ll add your article or update this article!
Install and run Gnome Language Selector
There’s a lot of minimal ways to set things up, but to keep things as simple as possible. You need to install Gnome’s Language Selector, a UI that will help you set everything up.
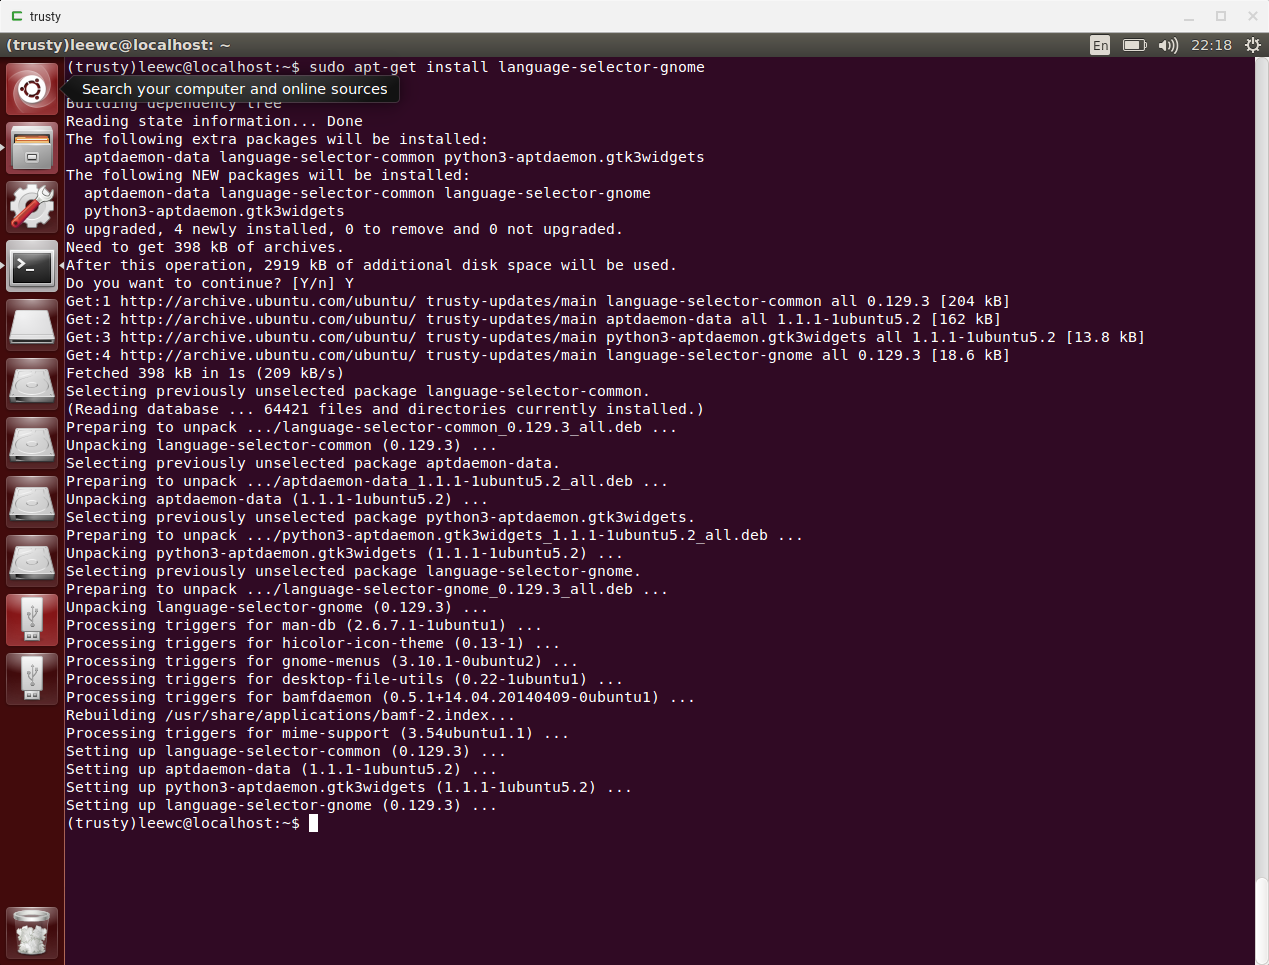
$ sudo apt-get install language-selector-gnome
Screenshot in case you want to see what went on my set up:
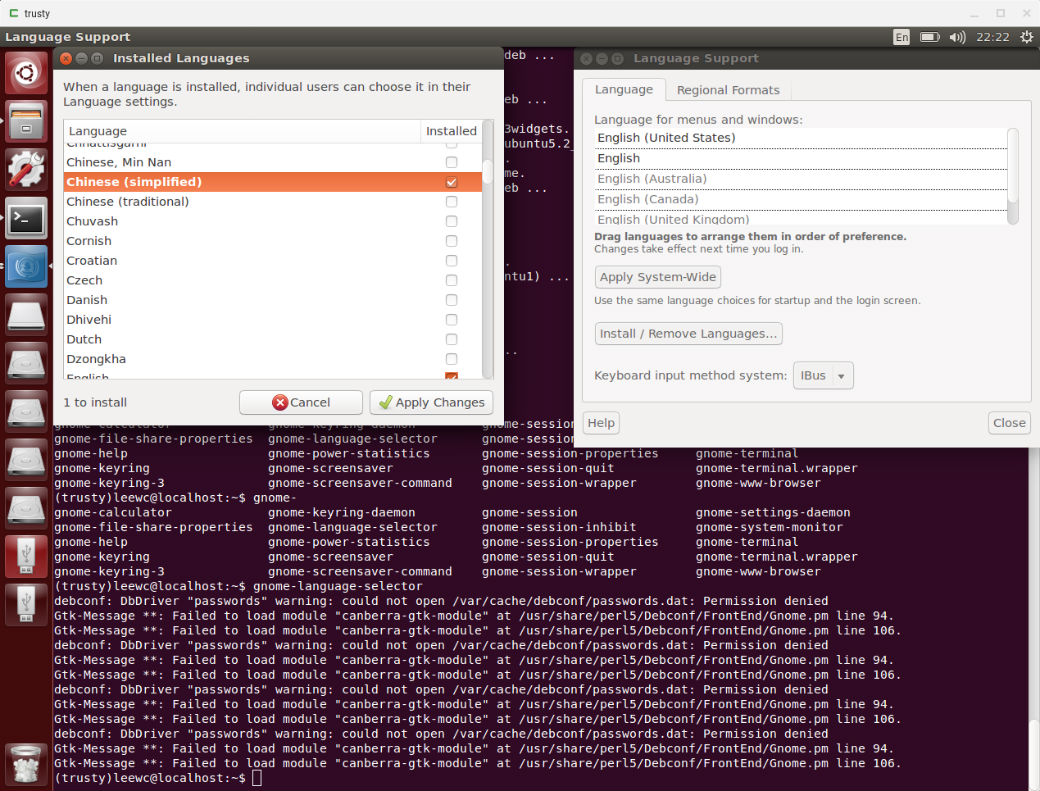
After installation, we need to start the Language Selector from either the GUI via Unity Launcher, or any other launcher (read: not the terminal), or from the terminal with gksu.
$ gksu gnome-language-selector
The reason for this is because without sudo permissions the language selector will be unable to update the LANG and LOCALE environment variables due to permission errors. sudo apt-get install gksu if you don’t have it installed (I believe it came by default).
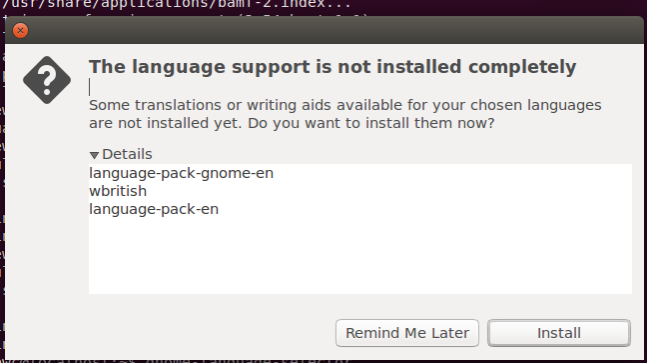
Enter your password and then select the language you want applied system wide, or install additional languages you require. For completeness, this is what happened when I didn’t run gnome-language-selector with sudo permissions.
Generate Locales and Install a Unicode Input Method (fctix/ibus)
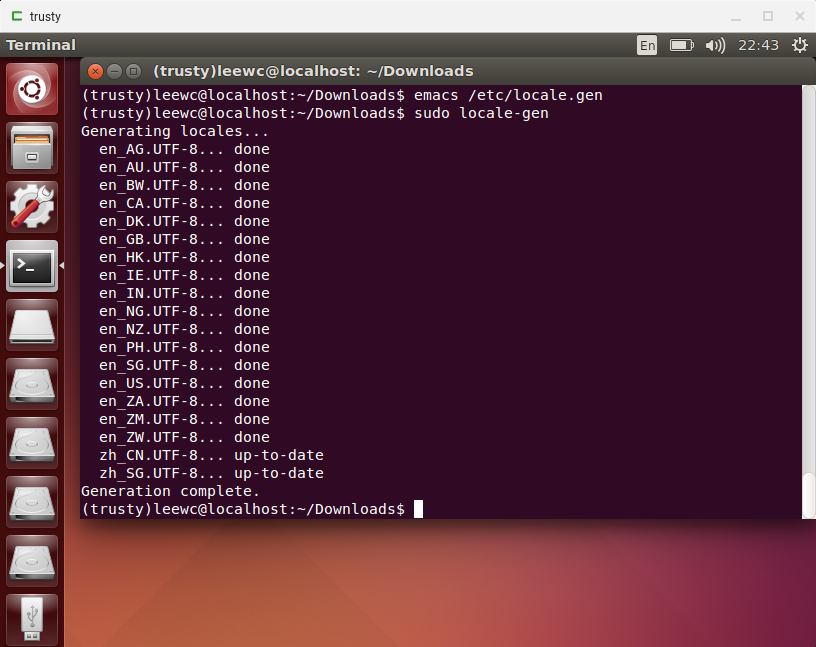
$ sudo locale-gen
Will generate more locales. This also makes sure your locale files are the way they should be.
Install fcitx, or skip this step if yo’re OK with IBus input method, but pinyin Joe seems to suggest fcitx is better!
$ sudo apt-get install fcitx
And then install your choice of input method, I went with Google Pinyin.
$ sudo apt-get install fcitx-googlepinyin
Or for IBus:
$ sudo apt-get install ibus-googlepinyin
Finally, regardless of your choice, run input method configuration.
$ im-config
And select fcitx, or leave it unchanged if IBus is already selected and it’s what you want.
Logout and Login Again, almost there! …
Then logout and login again. This would mean starting your crouton chroot again with e.g. sudo startunity.
Search for Text Entry in Unity, or Click on the keyboard button by the top-right in Ubuntu 15 and later (as mentioned by Pinyin Joe), alternatively, hunt thru the Settings and look for text entry.
Click on the “+” button on the lower left, and it’ll ask you to “Choose an Input Source”, check out Pinyin Joe’s tutorial here, which is for an older version of Ubuntu, but similar nonetheless; if you want screenshots that is. (but you don’t right?)
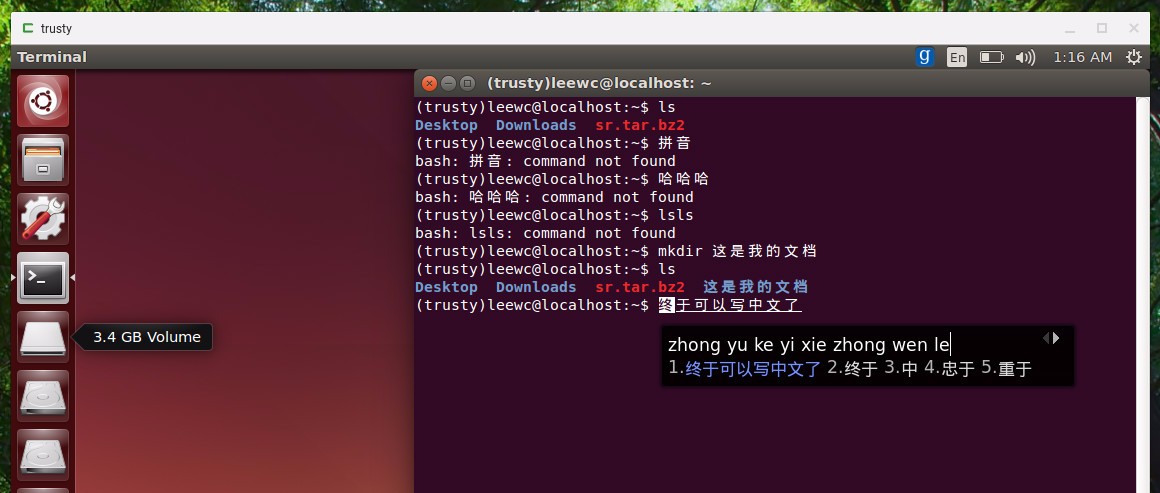
If everything went well, and it should; unlike some things in life, this doesn’t require the planets to align. You’ll be able to pull off something like this!
Additional Resources
PS, you might need this later, if you need to do add-apt-repository, we need to install it because crouton chroots are so minimal that it doesn’t come included. https://www.svennd.be/crouton-add-apt-repository-command-not-found/
$ sudo apt-get install software-properties-common
-
Language set up is also covered here in the Crouton Language Wiki.
-
Pinyin Joe’s guide really helped, check it out here.
-
Also read the rest of Pinyin Joe’s guide, segments of it were helpful to me. Here’s the link for Ubuntu 12 Chinese Setup.